Free Crochet Bag Pattern: Easy Granny Square Tote
A beginner-friendly crochet bag made from 8 classic granny squares and two wooden handles — with yarn amounts, a layout diagram, step-by-step photos and a free PDF guide.
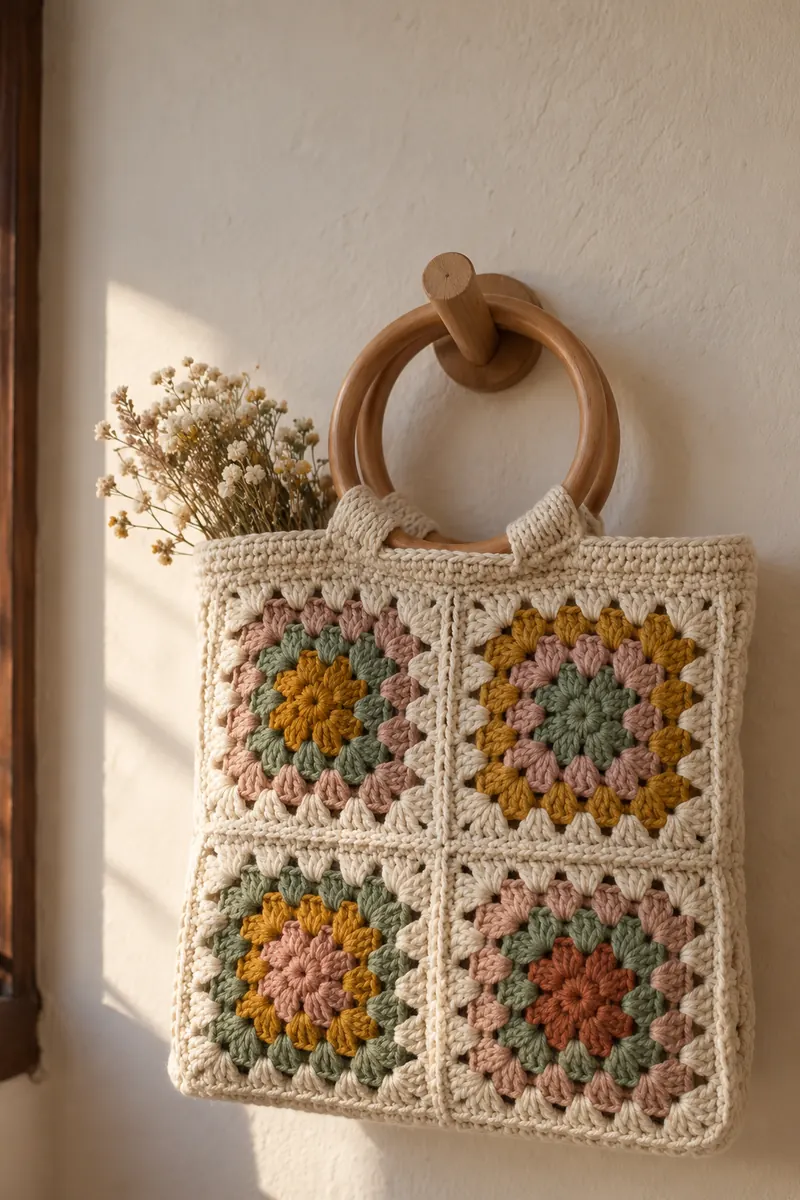
Looking for a crochet bag pattern free and simple enough for your first bag? This granny square tote is made from just 8 classic granny squares, joined into two panels, with a neat single crochet border and two wooden ring handles. If you can crochet a granny square, you can make this bag.
Everything is below: yarn amounts, the square layout, assembly photos, a printable pattern card — and a free PDF guide with the whole pattern.
In this free crochet bag pattern
Materials and yarn amounts
- Skill level
- Easy (confident beginner)
- Finished size
- ≈ 13 × 14 in (33 × 36 cm) without handles
- Time
- 6–8 hours
- Yarn
- Worsted (#4) 100% cotton, ≈ 400 yd / 365 m
- Hook
- 5 mm (US H-8)
- Handles
- 2 round wooden rings, ≈ 6 in / 15 cm
| Colour | Used for | Approx. amount |
|---|---|---|
| A — Cream | Rounds 5–6, seams, border, tabs | 250 yd / 230 m |
| B — Mustard | Round 1 | 20 yd / 18 m |
| C — Sage | Round 2 | 30 yd / 27 m |
| D — Blush | Round 3 | 45 yd / 41 m |
| E — Terracotta | Round 4 | 55 yd / 50 m |
You'll also need a tapestry needle, scissors, 4 stitch markers and, if you like, a piece of cotton fabric (about 14 × 28 in) for a lining. Colours B–E are perfect for leftover yarn.
Abbreviations (US terms)
| Abbreviation | Meaning |
|---|---|
ch | chain |
sl st | slip stitch |
sc | single crochet (UK: double crochet) |
dc | double crochet (UK: treble) |
sp | space |
RS / WS | right side / wrong side |
Gauge: one 6-round granny square measures about 6.5 in (16.5 cm) after blocking. Gauge isn't critical for a bag, but all 8 squares should be the same size.
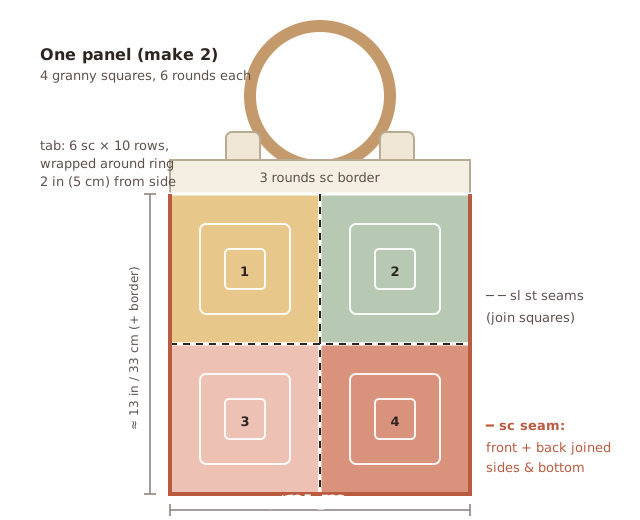
Bag layout diagram
Step 1: Make 8 granny squares
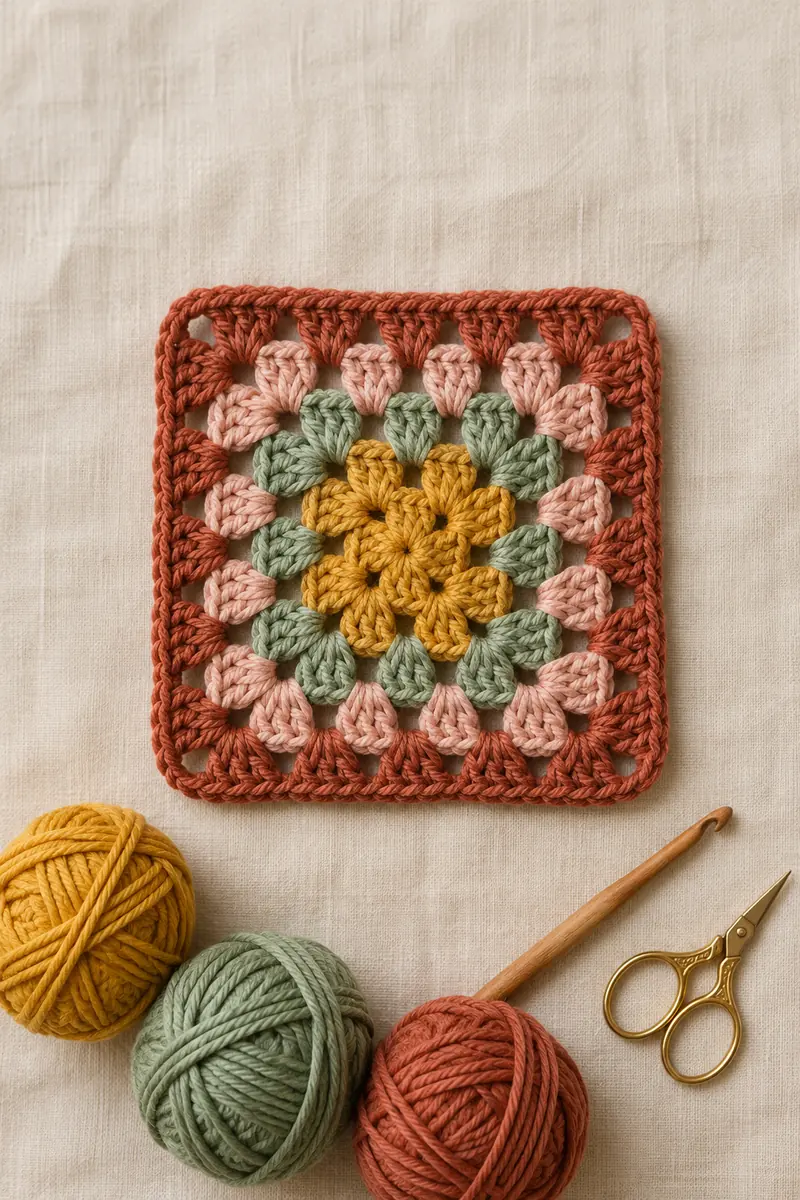
Make 8 classic granny squares of 6 rounds, following our free granny square crochet pattern. Change colour every round for rounds 1–4, then use cream for rounds 5 and 6:
- Round 1: mustard (4 clusters)
- Round 2: sage (8 clusters)
- Round 3: blush (12 clusters)
- Round 4: terracotta (16 clusters)
- Rounds 5–6: cream (20, then 24 clusters)
Weave in all ends, then block the squares: pin them damp to the same size (6.5 in / 16.5 cm) and let them dry. Same-size squares make the seams much easier.
Free Crochet Bag Pattern Guide (PDF)
The full granny square tote: yarn amounts, square layout, assembly steps and handle tabs — on 6 printable pages.
Instant download. We'll also email you when a new free pattern is out — unsubscribe anytime. PrivacyStep 2: Join the squares into two panels
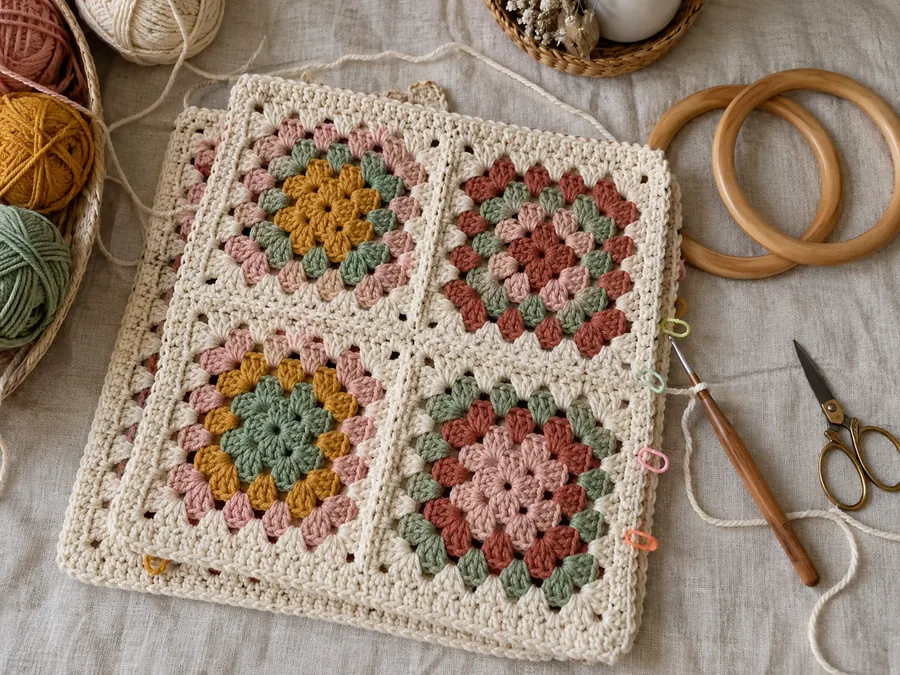
- Lay out 4 squares in a 2 × 2 grid with the right sides up.
- Hold two neighbouring squares right sides together. With cream, sl st through the back loops of both squares along one edge, from corner ch-sp to corner ch-sp.
- Join the other pair the same way, then join the two strips along the long edge.
- Repeat with the remaining 4 squares to make the second panel.
Step 3: Edge each panel
With cream, join with a sl st in any corner ch-2 sp of a panel. Ch 1 (doesn't count as a stitch), then work 1 sc in each dc, ch-1 sp and seam along the sides, with (sc, ch 2, sc) in each outer corner. Sl st to the first sc to join. Edge the second panel the same way.
This round straightens the edges and gives you matching stitches for the assembly seam.
Step 4: Assemble the bag
- Place the two panels wrong sides together, edges and corners aligned. Use stitch markers to hold the corners.
- With cream, start at a top corner. Working through both layers, sc in each stitch down the first side, 3 sc in the bottom corner sp, across the bottom, 3 sc in the next corner, and up the second side.
- Fasten off. The top edge stays open.
Because the seam is worked on the outside, it makes a neat raised ridge that frames the squares.
Step 5: Top border
Join cream with a sl st at one side seam of the opening.
- Round 1: ch 1, sc in each st around the opening, sl st to the first sc.
- Rounds 2–3: ch 1, sc in each sc around, sl st to the first sc.
Fasten off and weave in the end. The 3-round border adds about 1 in (2.5 cm) of height and keeps the opening from stretching.
Step 6: Attach the wooden handles
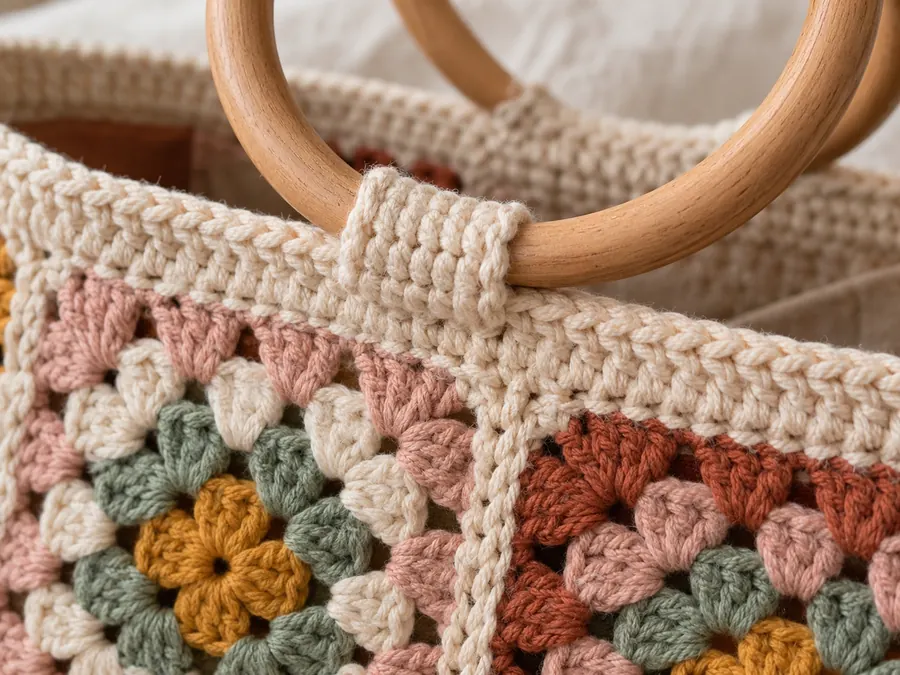
Tabs (make 4): with cream, ch 7. Row 1: sc in 2nd ch from hook and in each ch across (6 sc). Rows 2–10: ch 1, turn, sc in each sc across (6 sc). Fasten off, leaving a 12 in (30 cm) tail.
- Wrap one tab around a wooden ring and fold it in half.
- Place it on the inside of the front panel, 2 in (5 cm) in from the side seam, so the fold sits just above the border.
- With the tail and a tapestry needle, whip stitch both layers of the tab firmly to the border. Go over it twice — this carries the weight of the bag.
- Attach the second tab of the same ring 2 in from the other side seam, then repeat on the back panel.
Granny Square Tote — Free Bag Pattern
Yarn: worsted cotton ≈ 400 yd · Hook: 5 mm (H-8) · Square: 6 rounds ≈ 6.5 in · US terms
Tips and variations
Make it bigger
Use 7- or 8-round squares, or a 3 × 3 layout per panel (18 squares in total) for a roomy beach bag.
Make it sturdier
Sew a cotton lining inside, or work the border with a hook one size smaller. Both keep the bag from stretching when it's full.
Shoulder bag version
Skip the wooden handles and crochet one long strap (about 40 in / 100 cm), sewn to the side seams.
Care
Hand wash in cool water and dry flat. Remove wooden handles before washing.
Free crochet bag pattern FAQ
Is this crochet bag pattern free?
Yes. The complete pattern, photos and diagram are free on this page, and the printable PDF guide is also free to download.
How many granny squares do I need for a bag?
This tote uses 8 squares: 4 for the front and 4 for the back. For a bigger bag, use a 3 by 3 layout (18 squares) or add more rounds to each square.
What is the best yarn for a crochet bag?
100% cotton or a cotton blend in worsted weight. Cotton is strong, holds its shape and does not stretch as much as acrylic.
How do I stop my crochet bag from stretching?
Use cotton yarn, keep your tension firm, add the single crochet border, and sew in a fabric lining if you carry heavy things.
How long does it take to make this bag?
About 6 to 8 hours for a beginner: roughly 30 minutes per square, plus 2 to 3 hours for joining, the border and the handles.

Crochet Squares
We write free granny square and crochet bag patterns — photographed step by step, charted and tested before they go online. About us →